Engine Restoration
Power is provided by a six cylinder, 4 litre (3993cc) Austin engine with 3 SU carburettors. This engine was originally used in the Austin Sheerline Limousine and had previously been used by Jensen in their original Interceptor model, although this only breathed through a single carburettor. The Jensen version of this straight 6 engine used in the majority of 541's is widely known and referred to as the DS5.
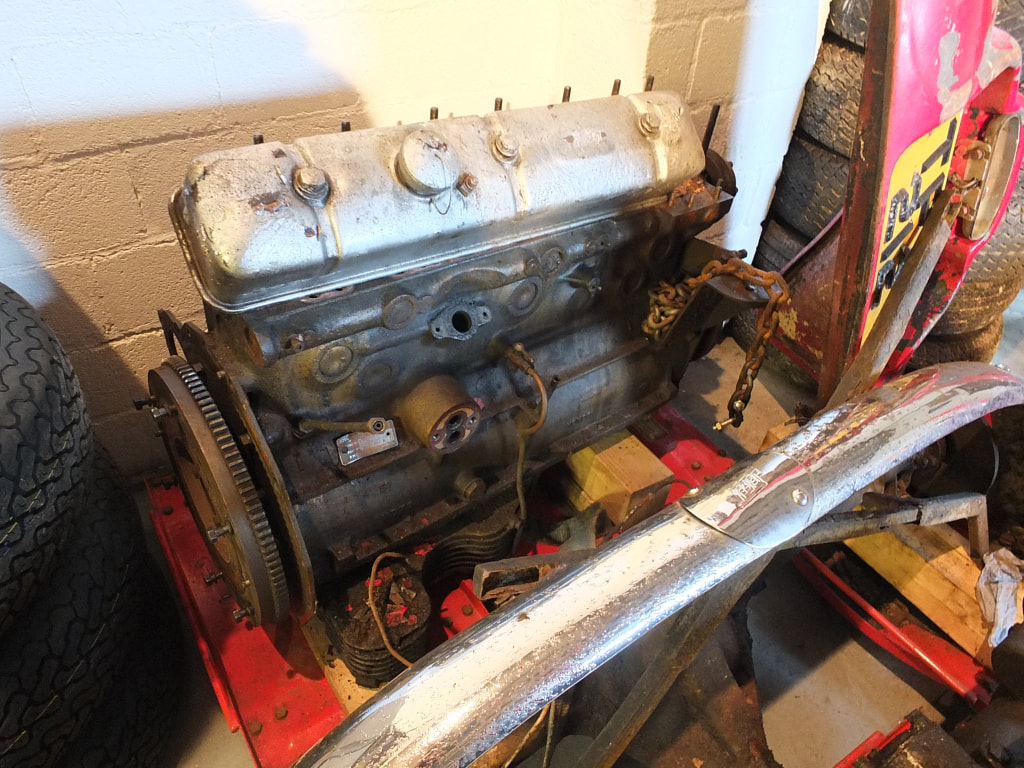
The engine in TPX 212 would seem to have been a replacement engine as it was sprayed gold and as such would probably have been a factory reconditioned "Gold Seal" engine. It is not known when the engine was replaced or how many miles it had on it, However, what was clear was that the engine was seized solid and would require a full rebuild.
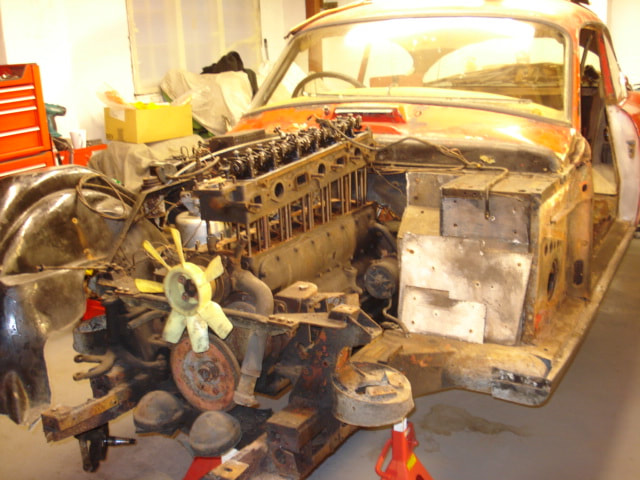
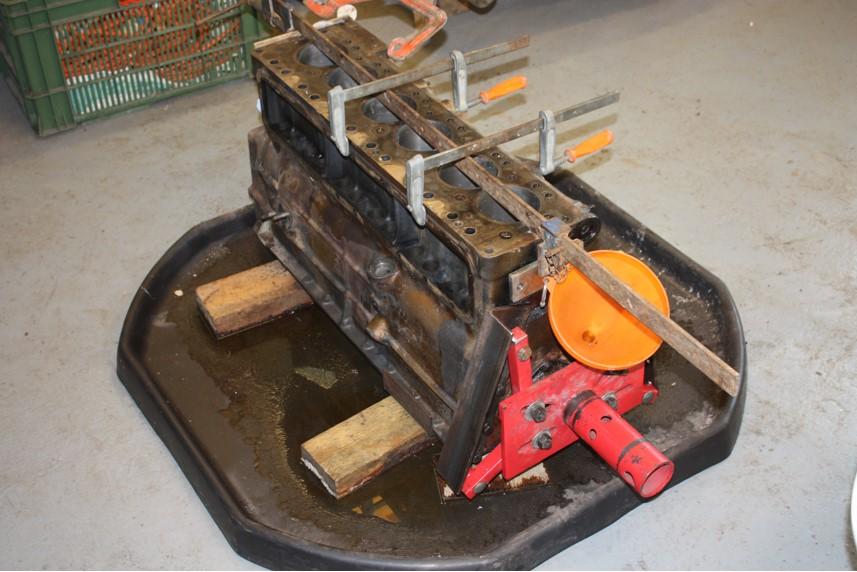
The engine was removed very early in the restoration process and stored while focus was on the body restoration.
The engine in TPX 212 would seem to have been a replacement engine as it was sprayed gold and as such would probably have been a factory reconditioned "Gold Seal" engine. It is not known when the engine was replaced or how many miles it had on it, However, what was clear was that the engine was seized solid and would require a full rebuild.
The engine was removed very early in the restoration process and stored while focus was on the body restoration.

Autumn 2017 - The Rebuild Begins
After restoration of the body reached a point where we felt confident we would have a car to put an engine in, we decided to begin work on the engine. The engine was dismantled. It turned out that things were not good! There had been water penetration over the years when the car was laid up in the farmers yard.
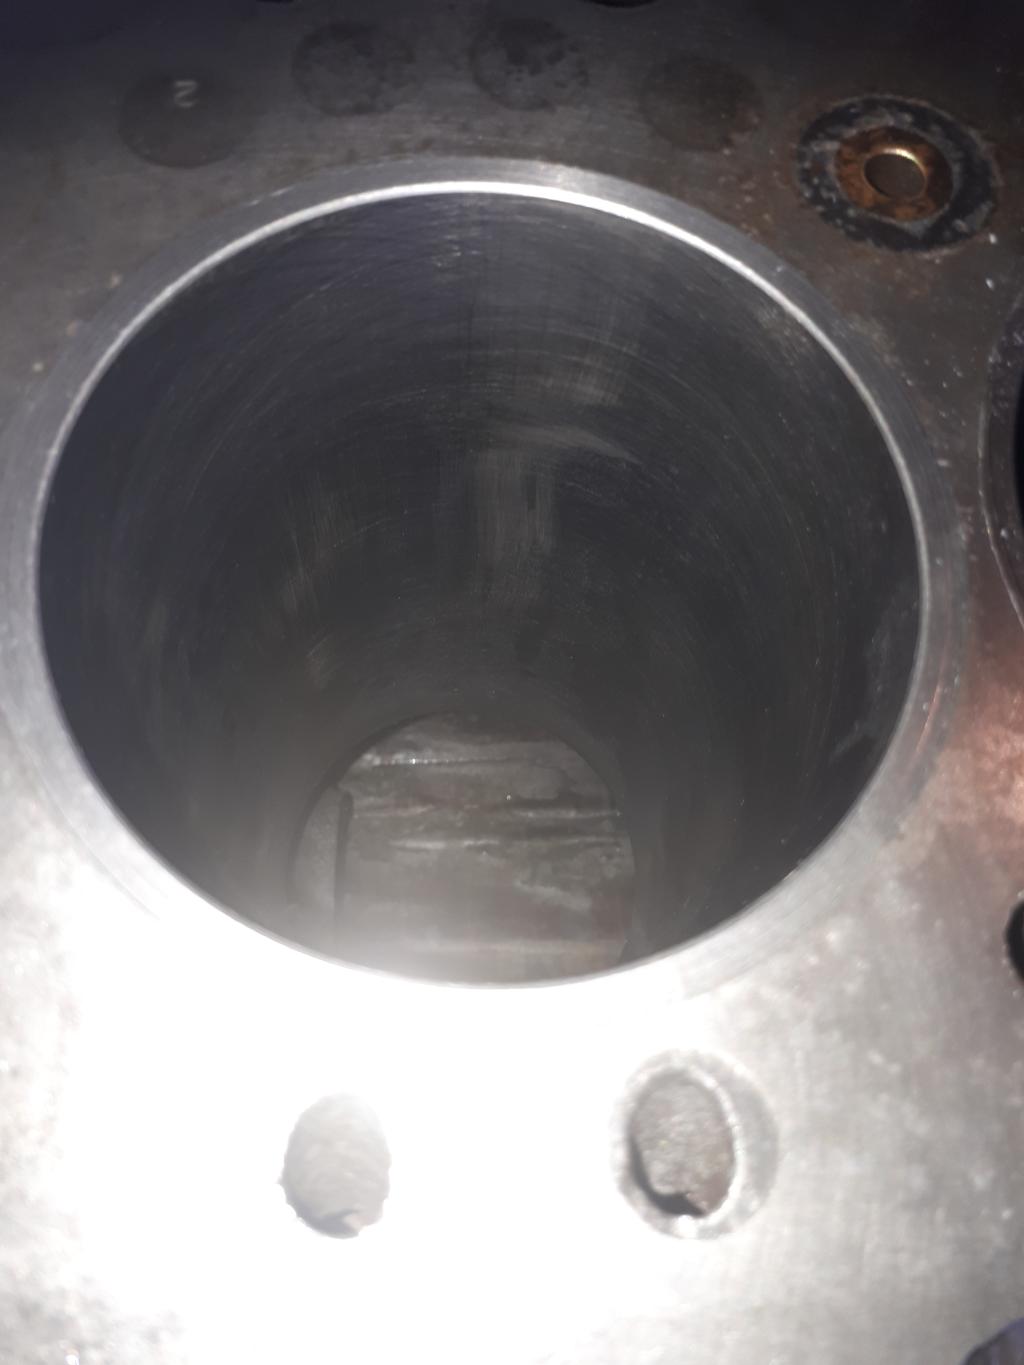
The first job was to remove the pistons which were seized solidly in the bores. This proved to be a time consuming and difficult task. However, they came out eventually, but it was clear that the block would need to be over-bored so the decision was taken to buy new over-sized pistons to fit the new, clean cylinders.
The head was very rusted and the rocker assembly was also seized solid. These would both need a lot of work, however the good news was that the head was sound and not cracked.
The camshaft was removed and found to be in very poor shape. The lobes had rusted and were pitted. This would either need replacing or significant machining.
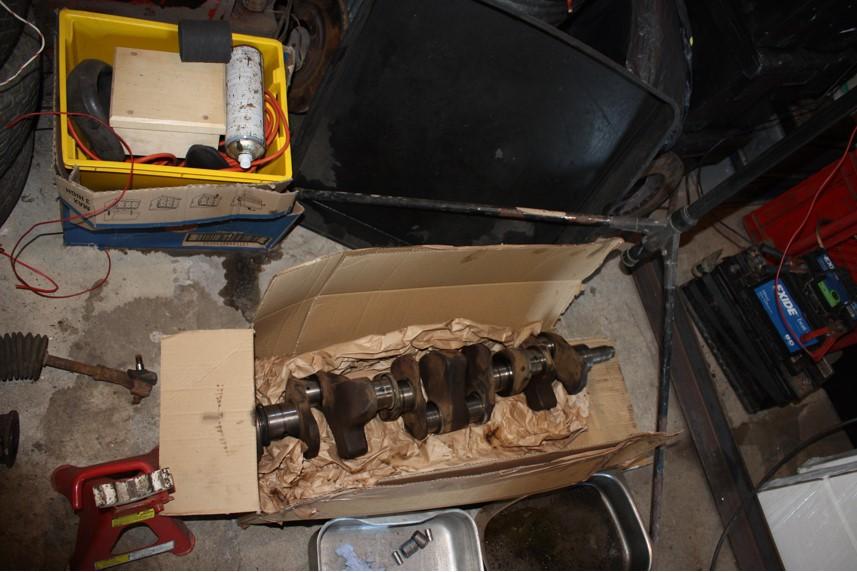
The crankshaft was also in poor shape, but the feeling was that this would probably be OK to "go again" after a professional polish.
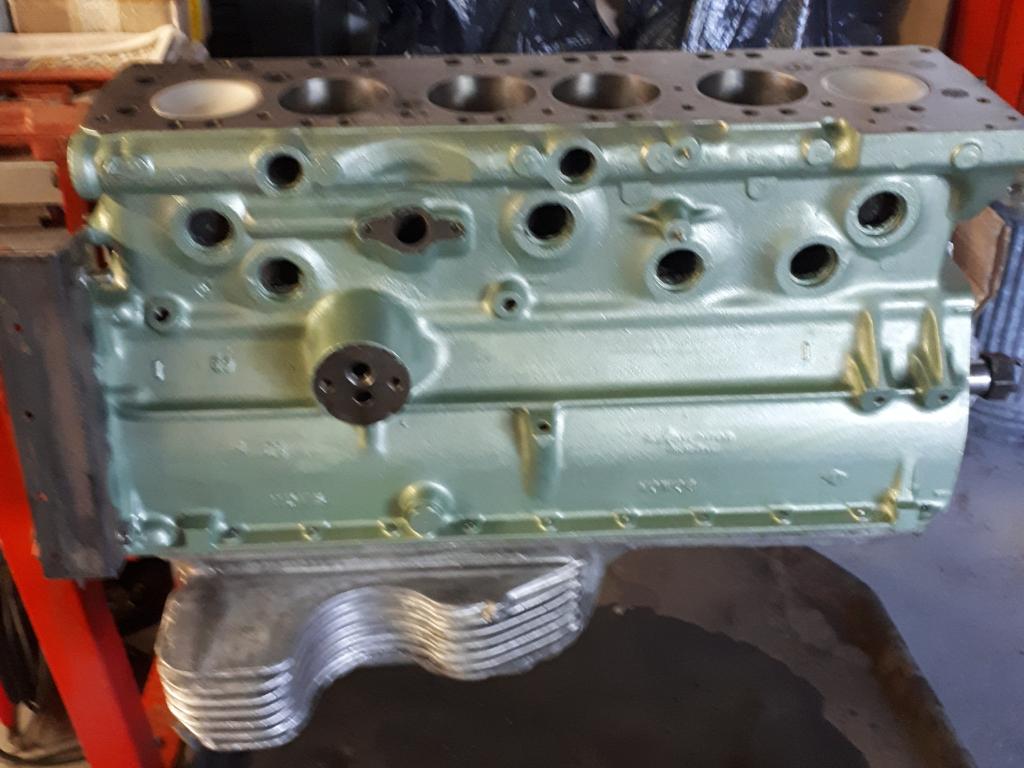
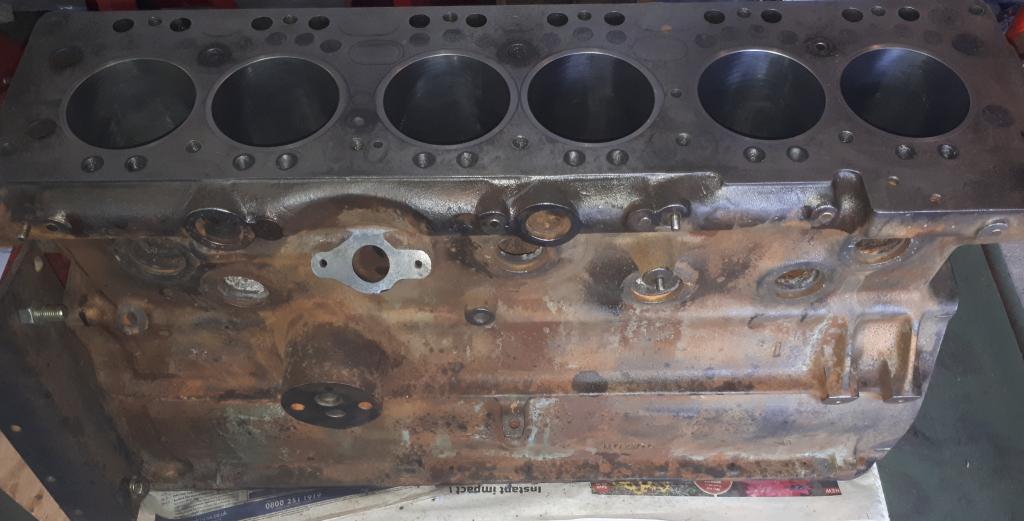
The engine block is prepared for cleaning and the crankshaft is ready to be sent away to be restored.
The first job was to remove the pistons which were seized solidly in the bores. This proved to be a time consuming and difficult task. However, they came out eventually, but it was clear that the block would need to be over-bored so the decision was taken to buy new over-sized pistons to fit the new, clean cylinders.
The head was very rusted and the rocker assembly was also seized solid. These would both need a lot of work, however the good news was that the head was sound and not cracked.
The camshaft was removed and found to be in very poor shape. The lobes had rusted and were pitted. This would either need replacing or significant machining.
The crankshaft was also in poor shape, but the feeling was that this would probably be OK to "go again" after a professional polish.
The engine block is prepared for cleaning and the crankshaft is ready to be sent away to be restored.
While the engine was having a caustic bath in order to clean out the waterways, a whole shopping list of parts was made and then purchased. The shopping list included:
|
|
Before machining would begin, various parts would be restored. The camshaft was the first... and most worrying part. It was heavily pitted and almost beyond repair. We spoke to various camshaft experts and it didn't look good. We tried to find a replacement camshaft, but these are few and far between. We found one, but it turned out to be from the lorry engine derivative of the DS5 engine (basically the same but different enough to not be usable). We found another, but it too was heavily rusted. We decided to try one last option which was to weld new metal in the pitted areas and re profile the cam. Fortunately our engine builder knew someone (now retired) who would let us use his machines to give it a go. Fortunately this did the trick and we had a usable camshaft again.
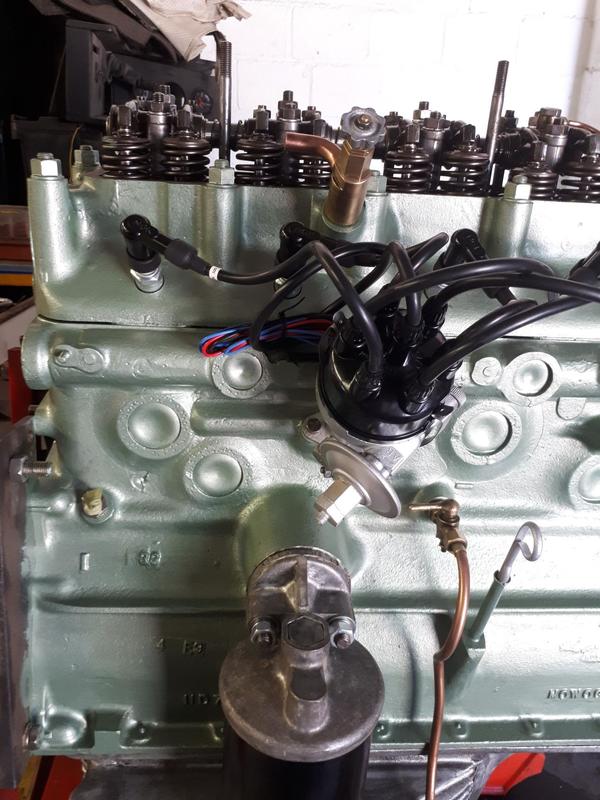
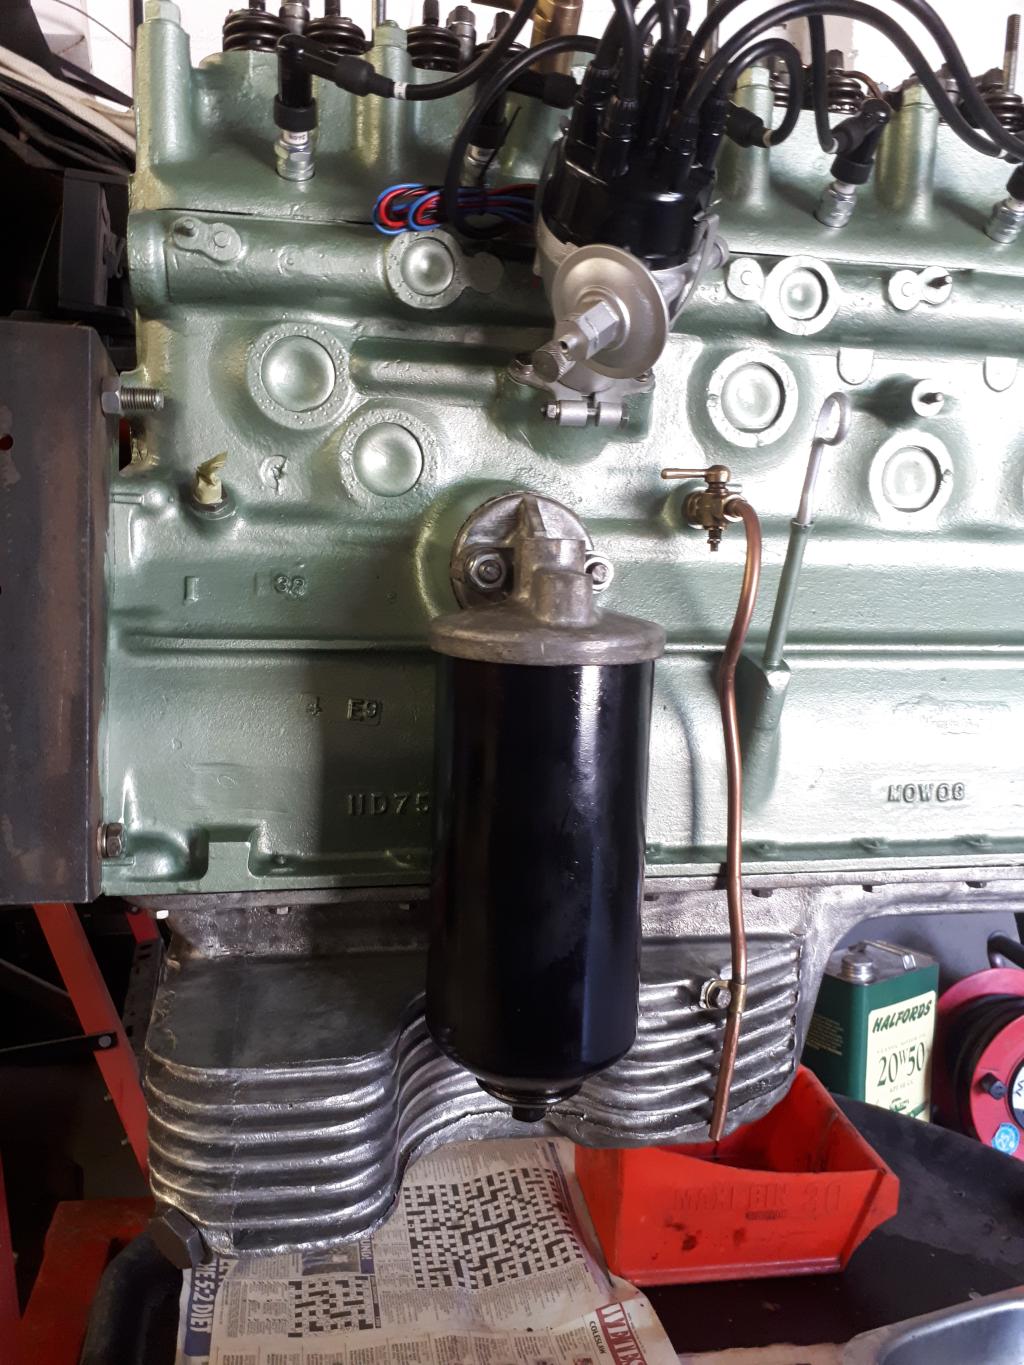
The distributor was also restored at this time. We decided to have it converted to electronic (not for the purest, but we felt it would suit us better going forward from an easy of maintenance perspective). It was sent to Holland where it was converted to a programmable 123 electronic distributor, but all within the original housing. The distributor will give us the electronic ignition we wanted but will still look very original in the engine bay.
The distributor was also restored at this time. We decided to have it converted to electronic (not for the purest, but we felt it would suit us better going forward from an easy of maintenance perspective). It was sent to Holland where it was converted to a programmable 123 electronic distributor, but all within the original housing. The distributor will give us the electronic ignition we wanted but will still look very original in the engine bay.
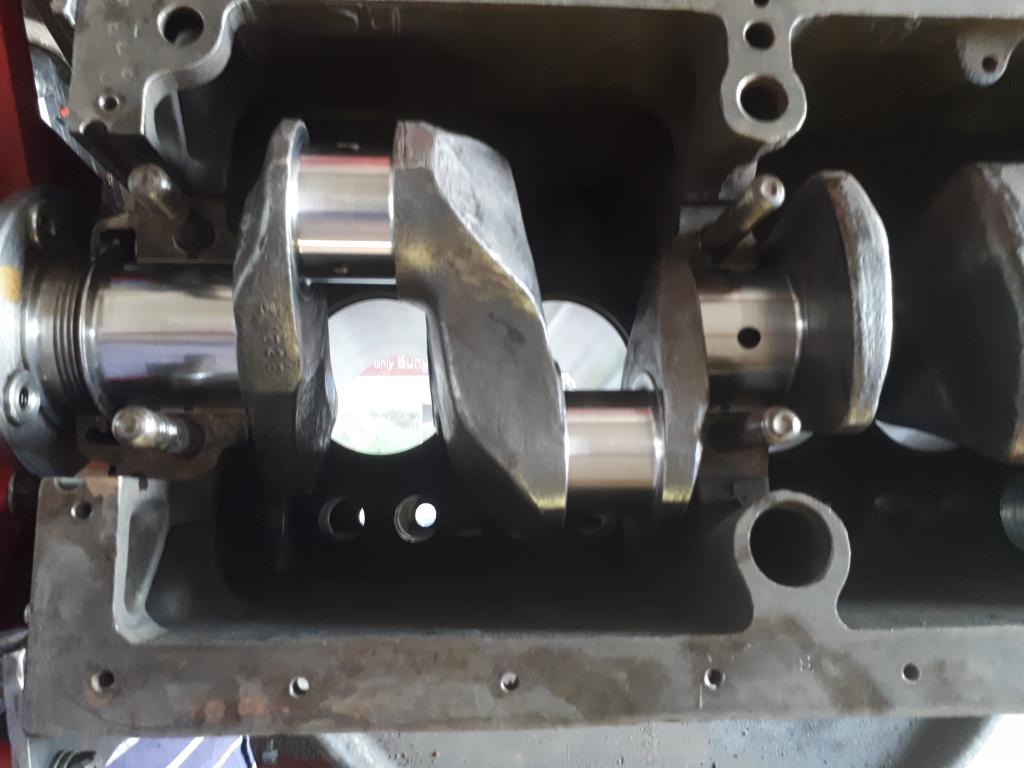
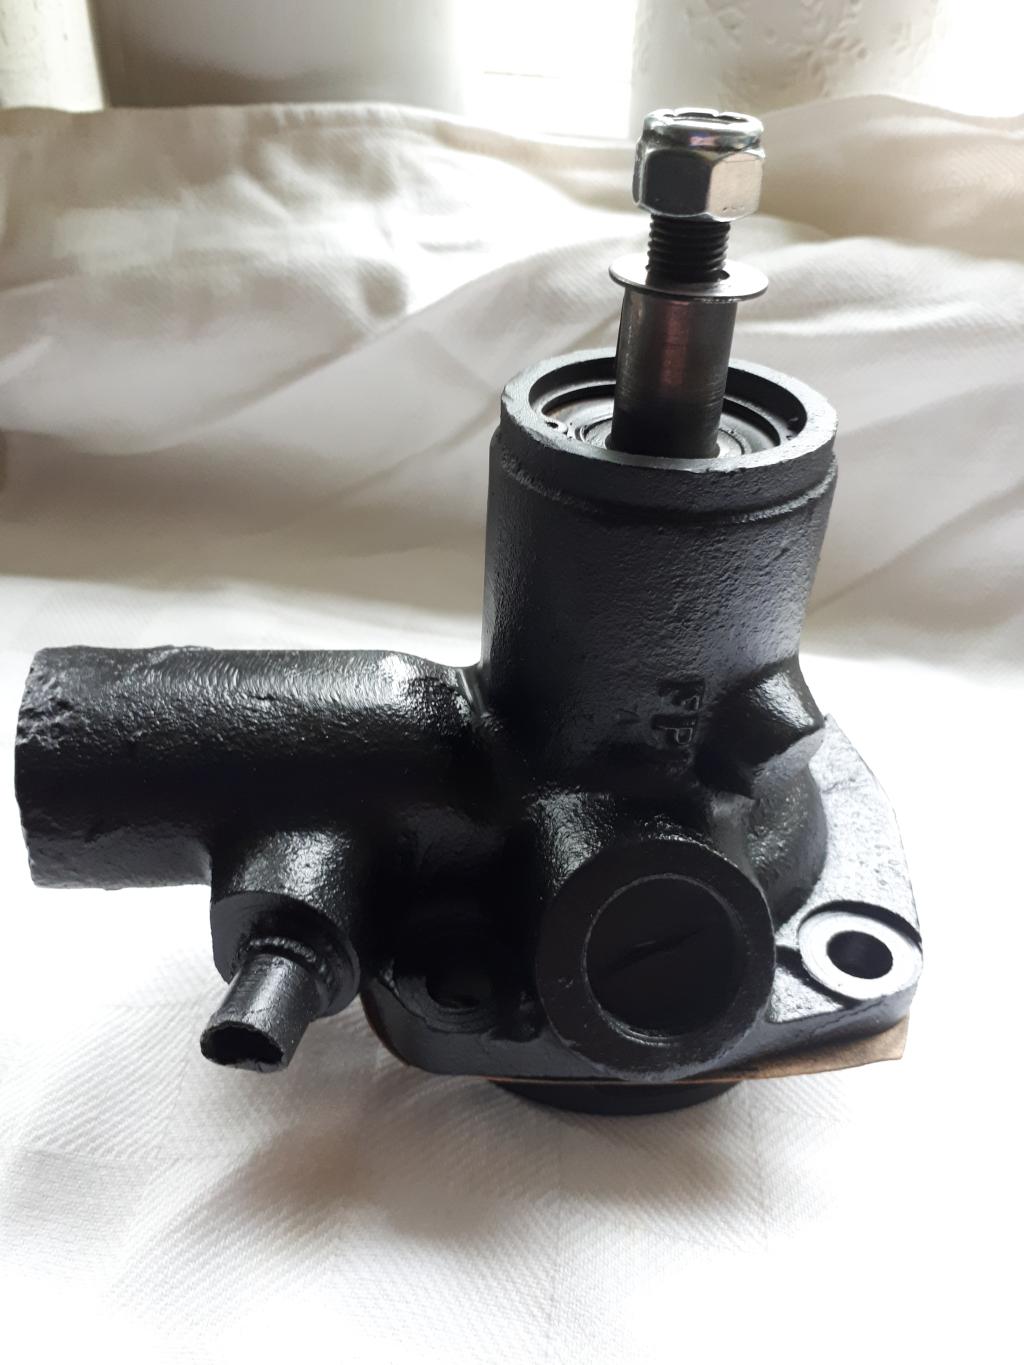
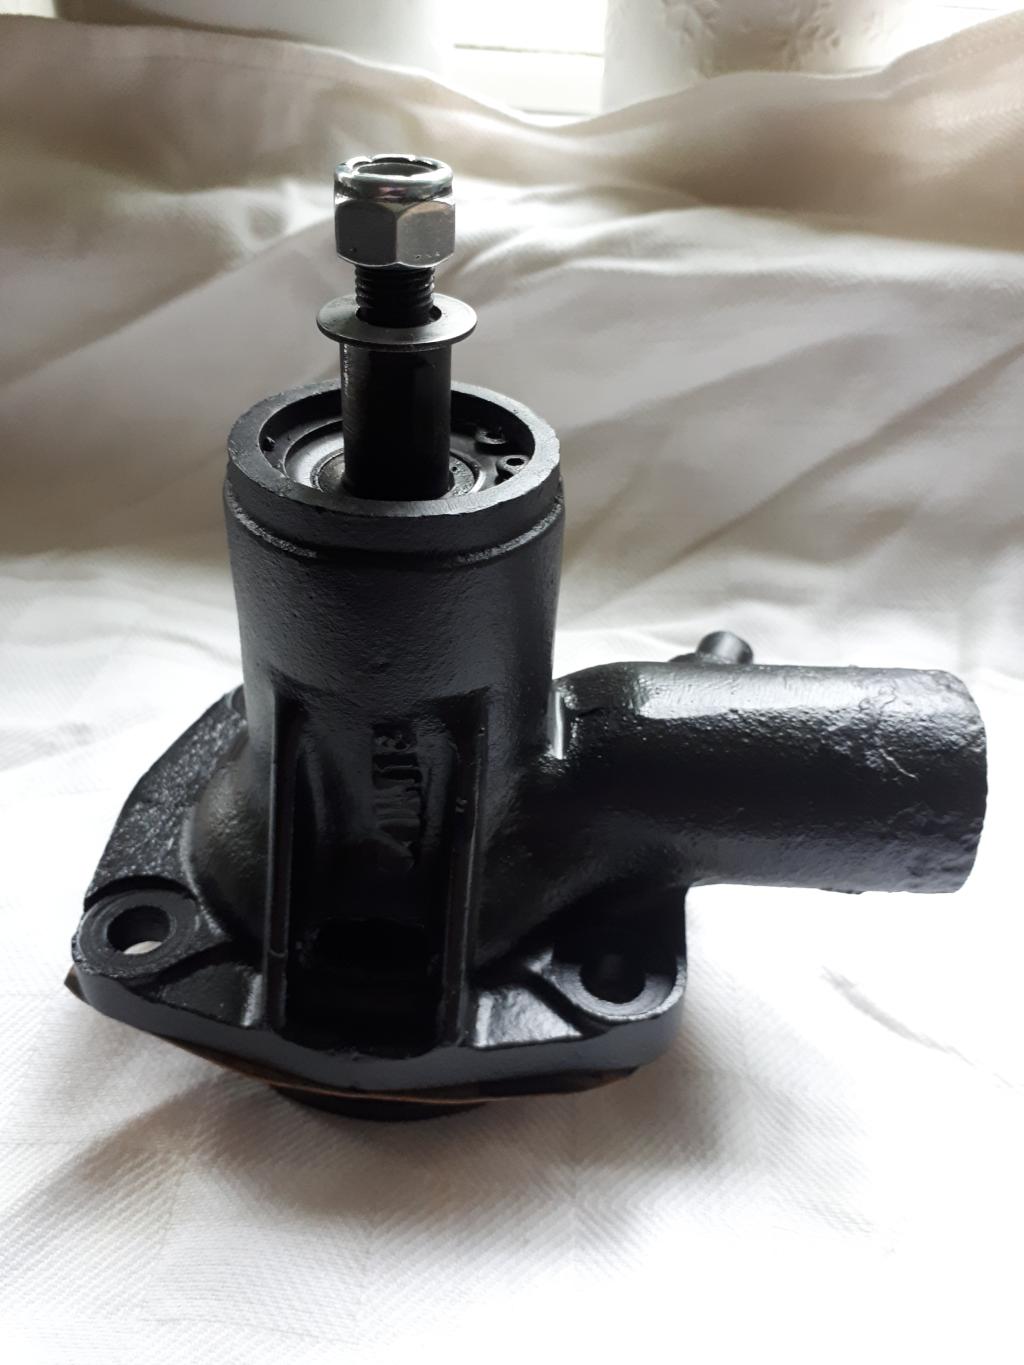
Finally, the Crankshaft came back from the specialist looking good too. The water pump was also rebuilt and a new shaft fitted. It was time to start machining the head and the block and putting it all back together.
Machining the Head
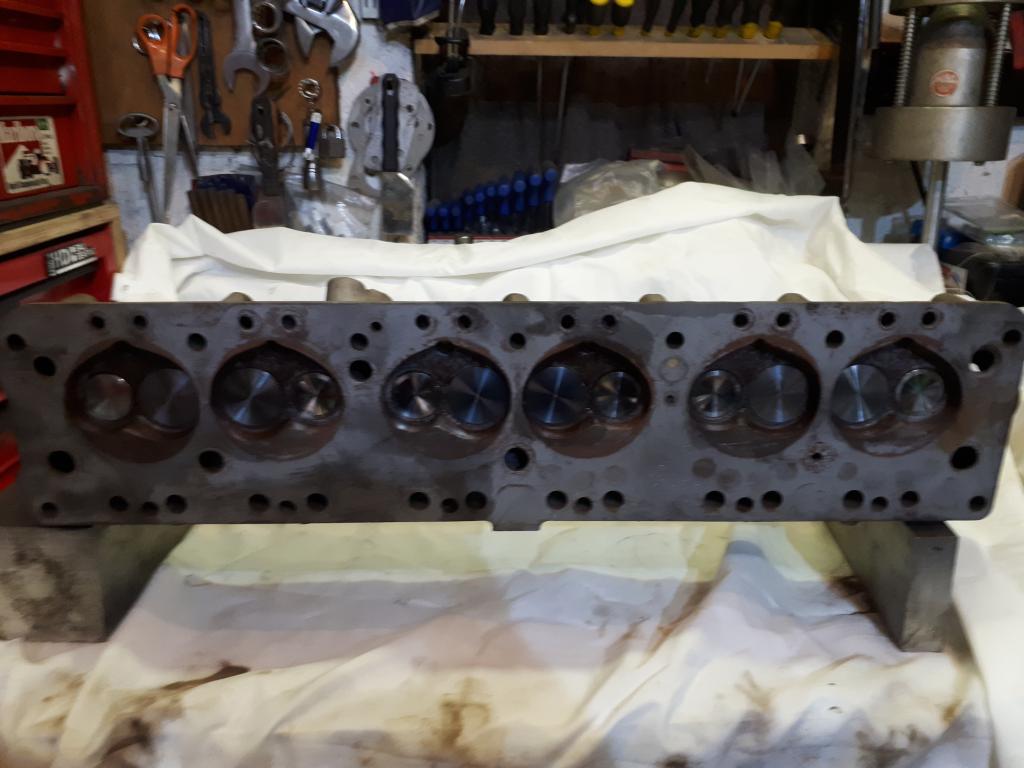
The head was "de-rusted" - not an easy job as it turned out and then new valves were fitted. Our engine builder insisted on hardened valve seats to allow for unleaded fuel, even though advice we received suggested that this would actually be unnecessary. The images below show`s the valve guides fitted, while the other show the seat`s and valves, as you can see a large amount of rust is still present even after being blasted resulting in a second visit to remove all the rust which was successful.
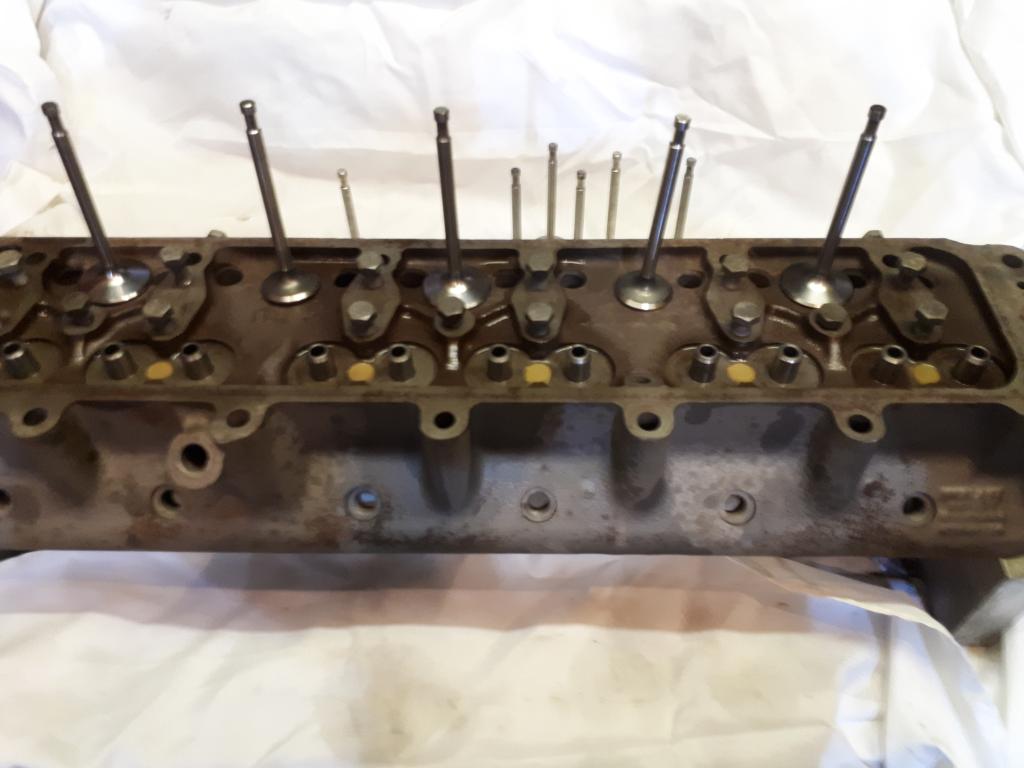
A new rocker assembly had been sourced to replace the seized one and this was fitted to the head.


Machining The Block
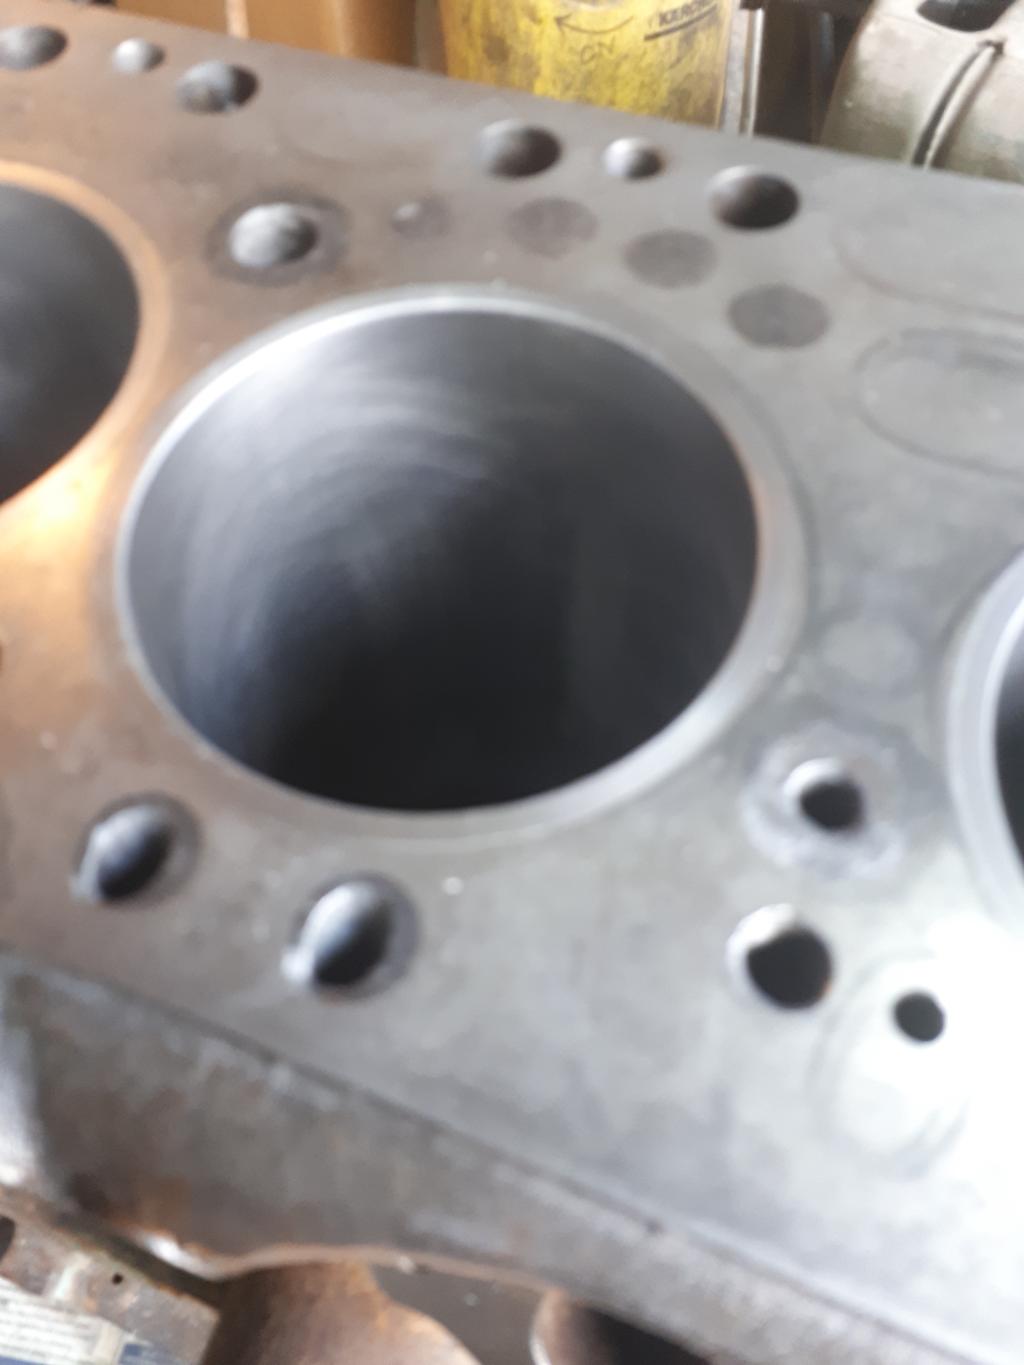
The block was now clean and ready for re-assembly. The cylinder bores needed to be over-bored as the rusted cylinders had left their mark - literally. However, when we started to over-bore we found a major problem. It transpired that the engine had in fact been over-bored to its maximum tolerance in the past and liners fitted taking the bores back to standard size. For some reason we failed to spot this and when we tried to bore the cylinders the liners came out - not good !
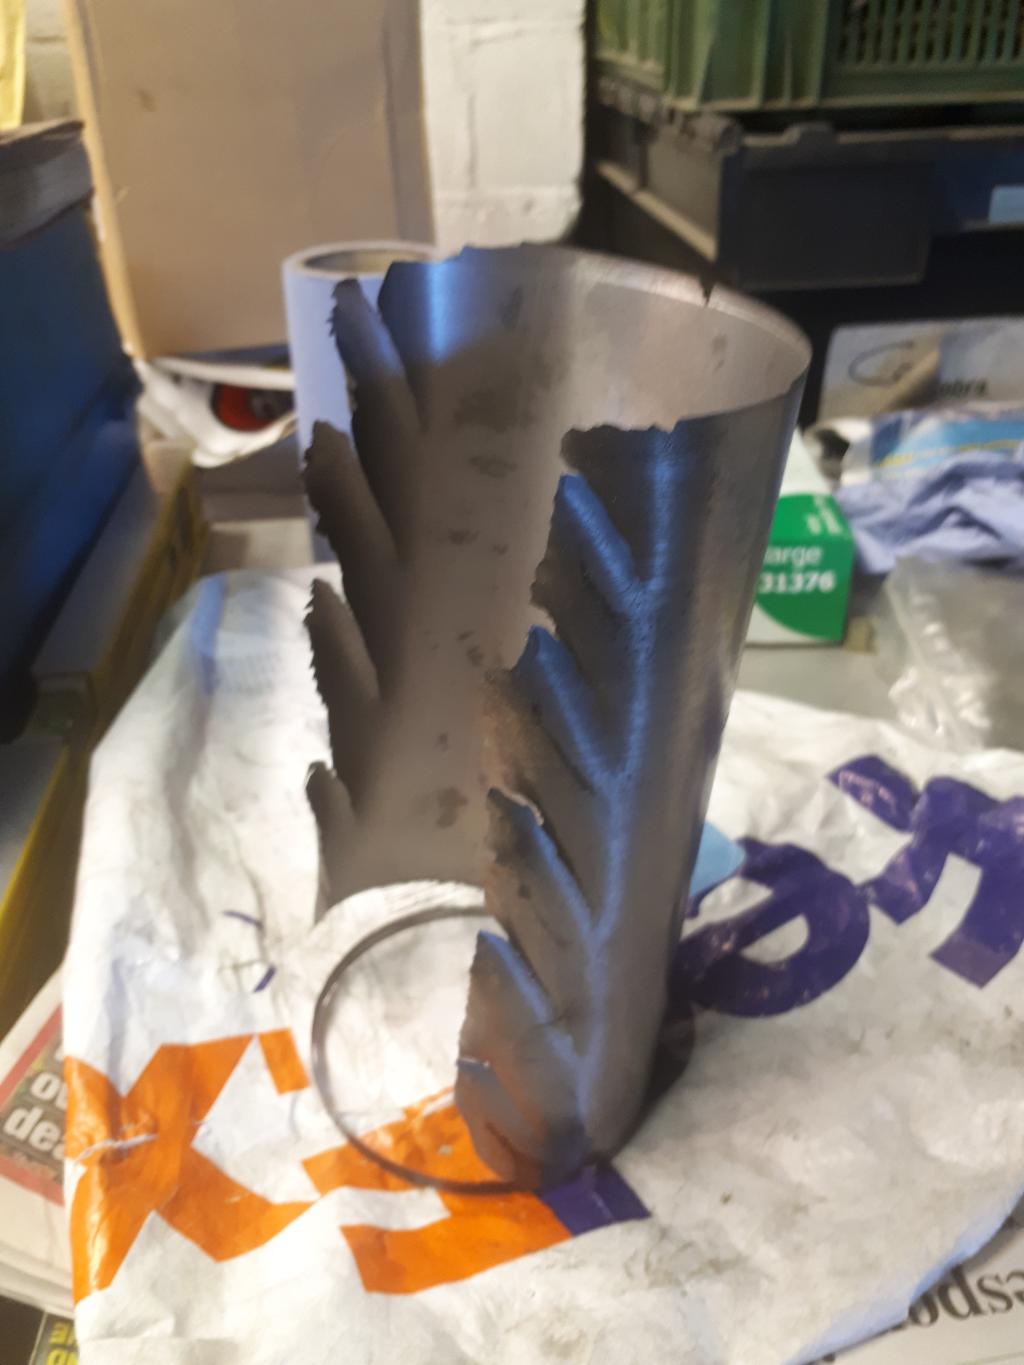
The problem now was that we had bores that needed to be relined, and cylinders sized for an overbore. The solution was to install "top-hat" liners and bore them out to fit the cylinders. The correct top-hat liners were sourced, the block was then machined to accept them. To do this, the block has a recess cut in the top for the flange of the liner to sit in. The liner`s have a much thicker wall and give the block greater strength. The liners were then bored out to match the cylinders we had purchased months previously.
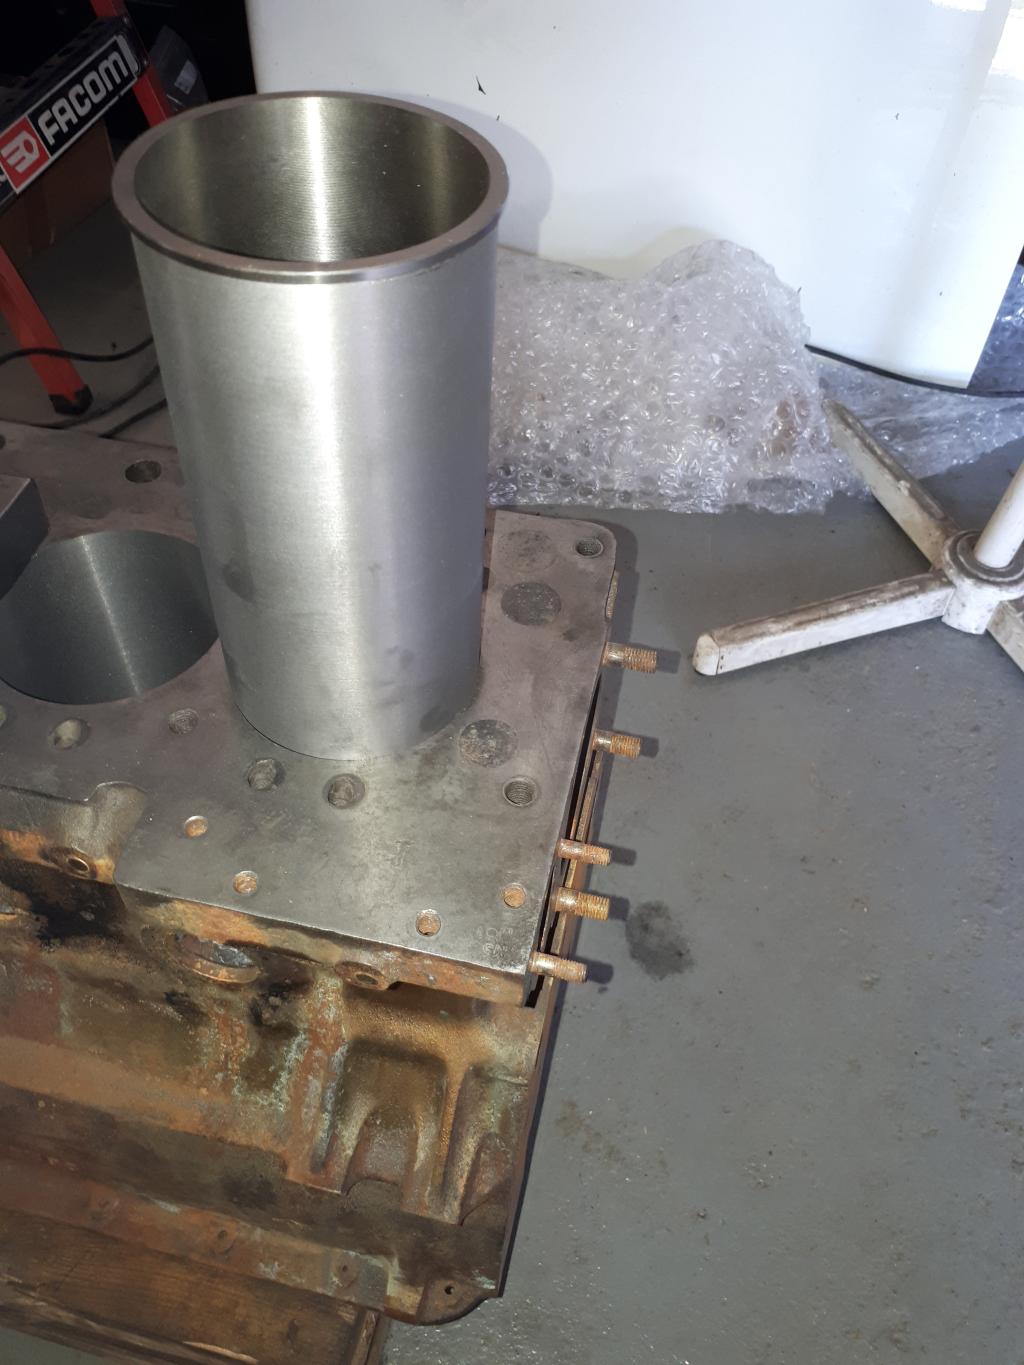
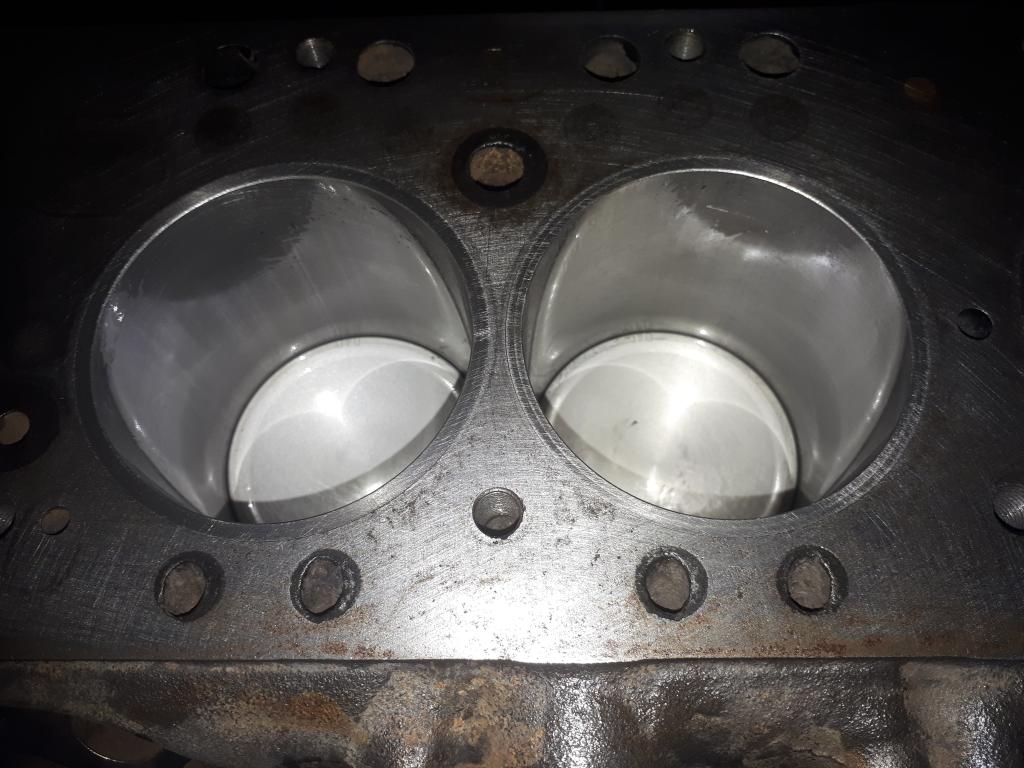
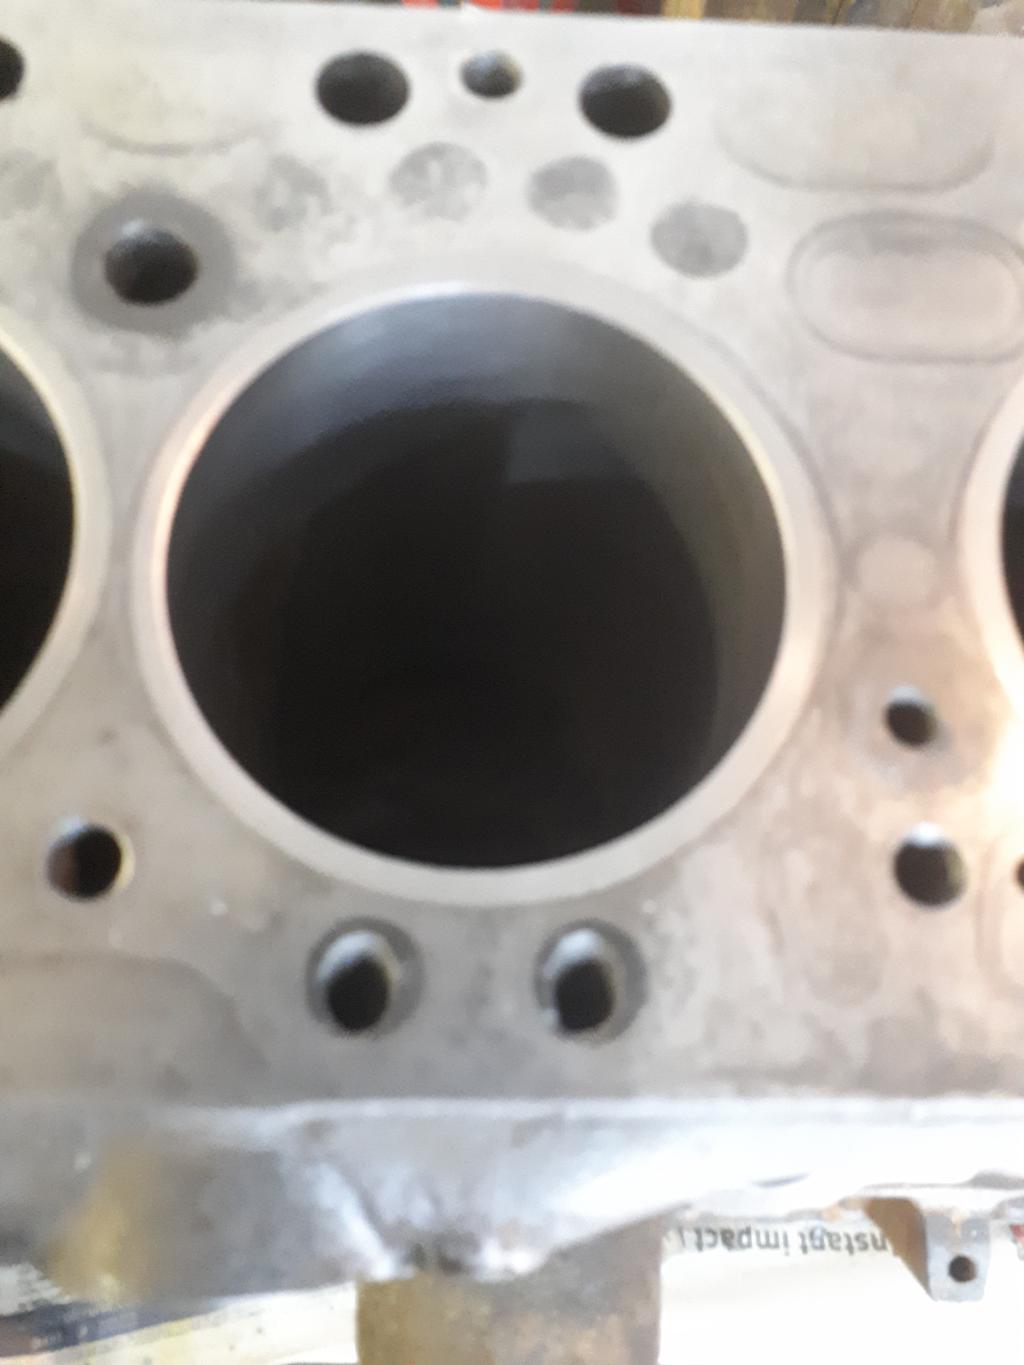
In fact, these liners add greater support to the block. This was our only way forward and we feel will make it a much better engine.
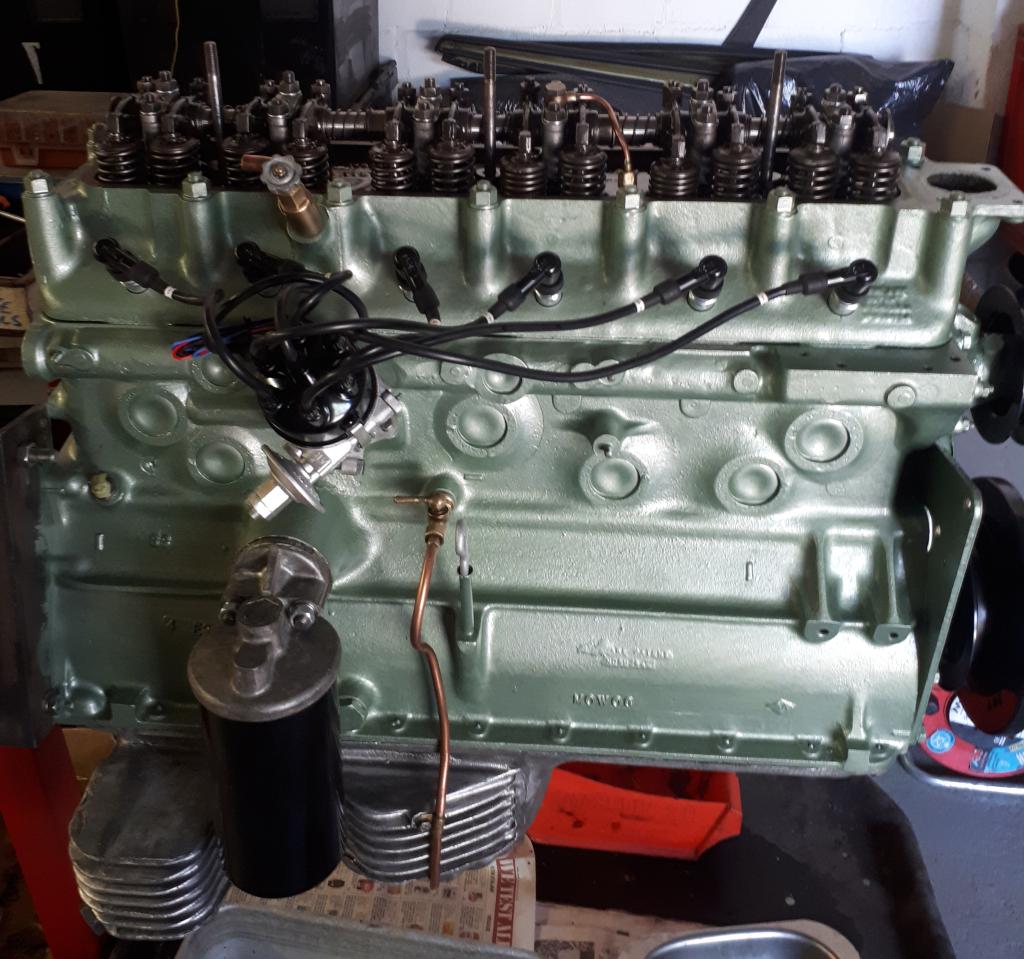
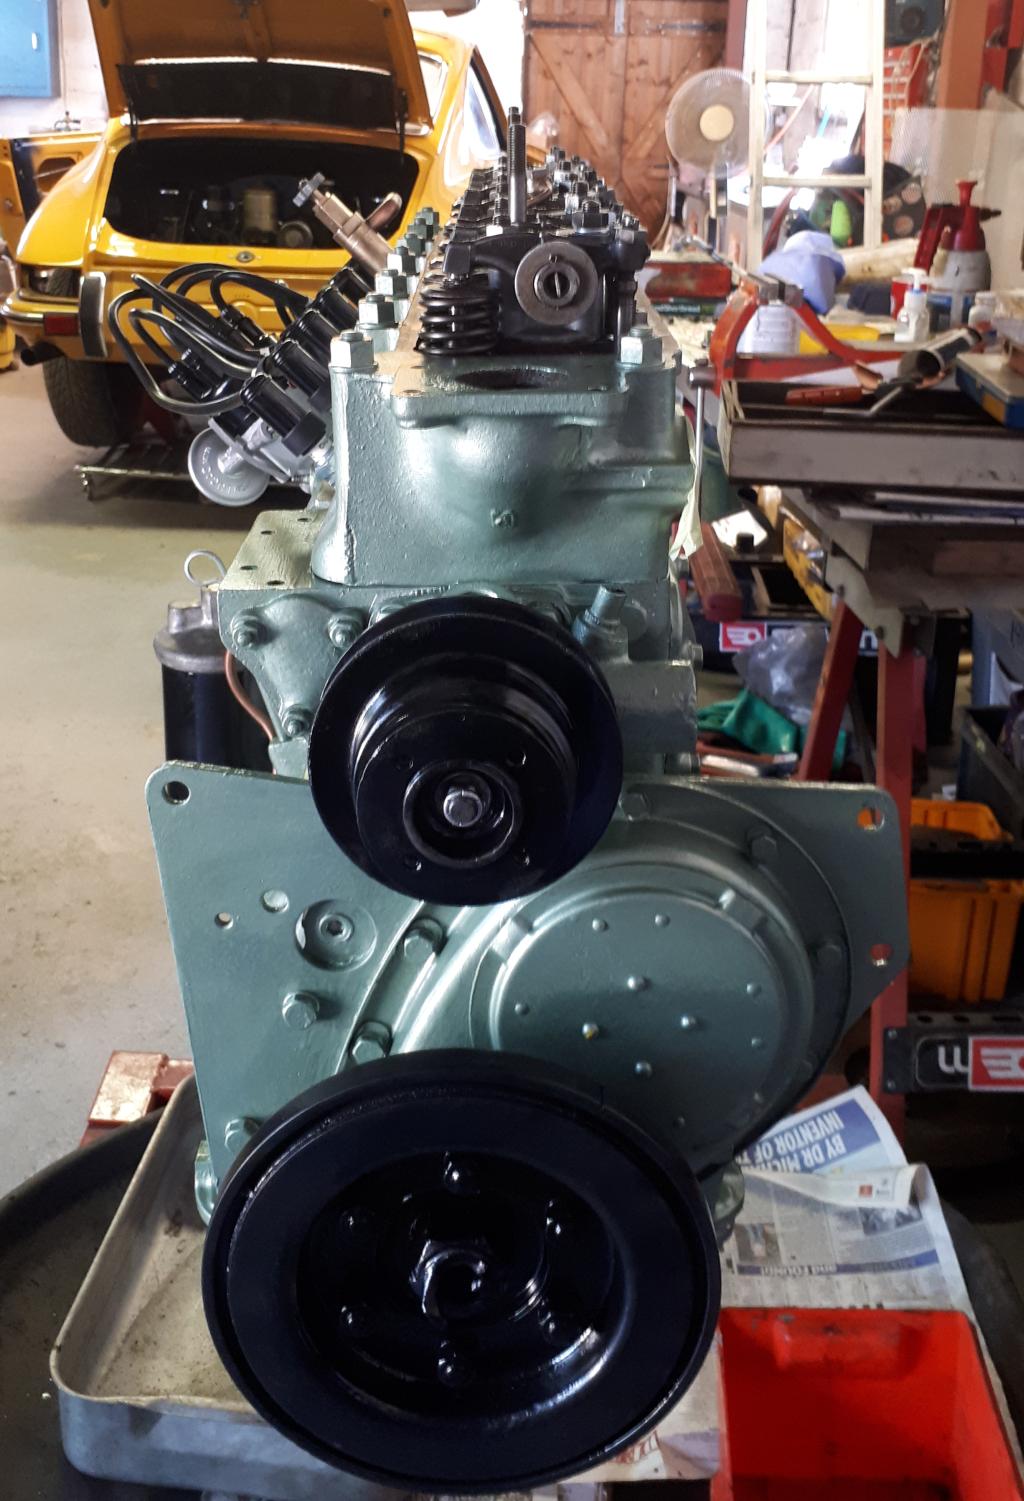
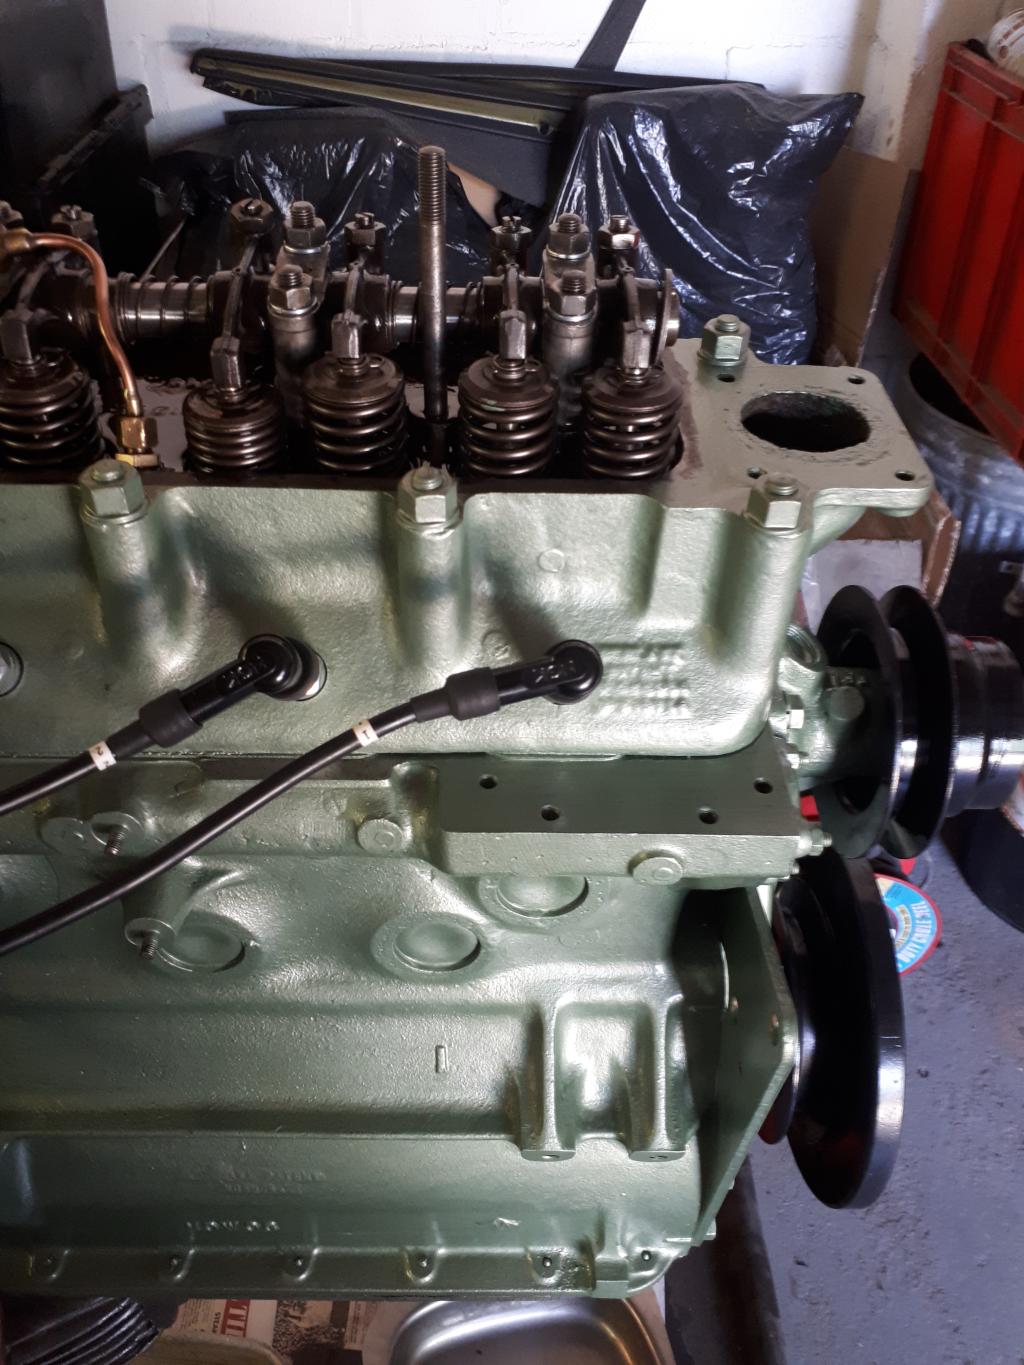
The Long Engine
The engine could now be re-assembled, painted and the long engine delivered to the workshop ready to be installed in the car. It has taken a long time (longer than it should), but at least we now have an engine.